WCPA Rounded corners for custom wood orders
First, we need to determine the minmax of the cuts for each corner. This cuts must be relative to the width and the length. The goal is to allow users to customize order not just by adding rounded corners on the required sides, but also, allows granular measurement for irregular shapes, and routing.
Start from the 4 sided measurements
Identify the mid-point variable where,
- length: {value/2}
- width: = {value/2}
With this, we now have 4 mid-points, 1 on each side.
Determine the label of each corner
We will now need users to imagine if the longer side is perpendicular with a surface, where the longer side is standing and not laying flat. For this, we need to display an image as HTML as a guide, on which field, false into which corner.
Determine WCPA form context
Now we will decide if the WCPA form is handled globally or locally.
If Global, each field for the corner radius value will need to have a conditional logic set to, ‘{product,productSize,productThickness,productWidth,ProductLength}’
There are hundreds of wood products that have multiple combinations of variations. Hence, this will render the Global WCPA form obsolete as there will be so many rules involved.
To mitigate this, we will locally scope the Rounded Corners field in each product.
Step 1 - Shape
First, we need to set the rounded corner fields conditional to square or rectangle shape and not circle shape due to obvious reasons.
Also, for better user experience, we also include that the thickness must not be empty to reveal the rounded corner fields.
We will do this from the section level, so all the fields within the section will inherit the conditional settings:

Set the condition as previously mentioned:

Now we can create the field in the Rounded Corners section, however, I’ve come to realize that there will be two fields in this section which is relative to the {length} and {width} as mentioned earlier in this post.
There are two ways to do this:-
- Create the fields in each thickness variation
- Create one section for each thickness variation.
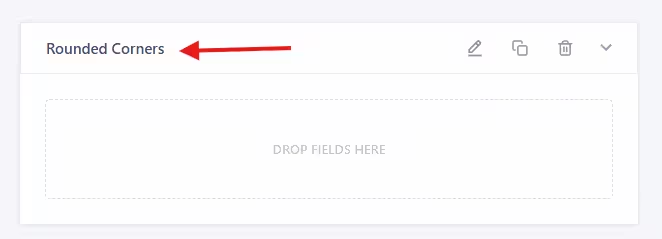
Let’s go for option two for easy access when we revisit this form (in case we can’t remember where the fields are). So let’s rename the section according to each variation and set the conditions correctly:

…to be continued
- Changelogs
- 18th Dec 2024 - First Publish
- 10th Jan 2024 - Step 1